In continuation to the previous post, where we have discussed how we can configure the Dynamics 365 Business Central Virtual table with Microsoft Dataverse from scratch, in this post, we will be walking through how we can extend and configure them for custom tables.
Prerequisite
- Visual Studio Code.
- Dynamics 365 Business Central Sandbox Environment.
VISUAL STUDIO CODE
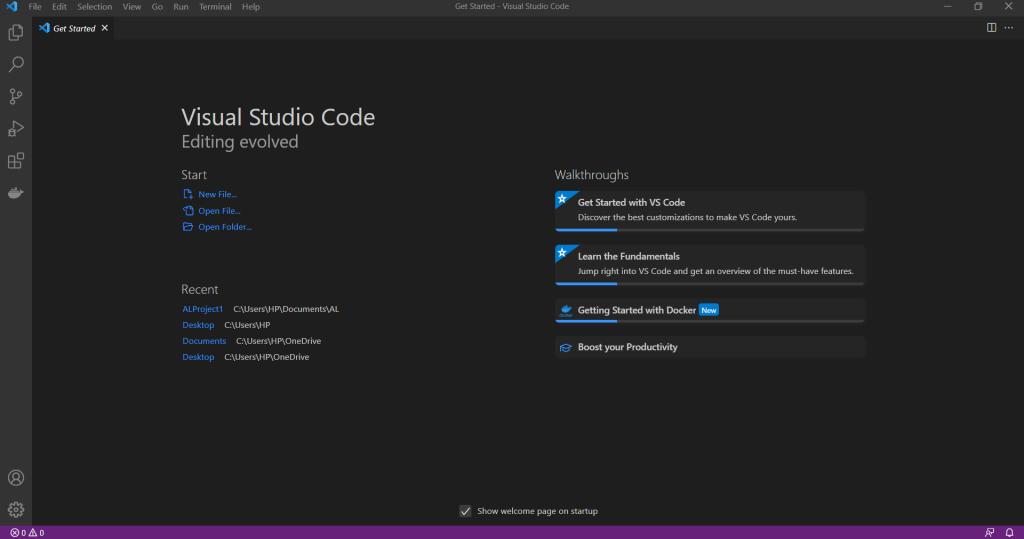
Visual Studio Code is the primary code editor for the Dynamics 365 Business Central development. It allows us to write and debug the code in the AL language in which the extensions are written.

Installation
To install Visual Studio Code go to the page and download the current version for your platform.
After installation open Visual Studio Code and go to Extensions management and find the AL Language and Install it.

As you can see In my case It is already installed, It will take a few seconds to install.
ONLINE SANDBOX ENVIRONMENT
Below is my Dynamics 365 Business Central Sandbox Environment which we will use in this post.

First Step we need to create an AL project in visual studio code and connect to business central.
AL Project
To create a new project for Business Central open Visual Studio Code and then open Command Pallete. The key shortcut for that is Ctrl+Shift+P.
Then write al go You can also use the key shortcut Alt+A, Alt+L.

After specifying where the project should be stored, you will need to choose for which platform you are doing development. We will select the latest available platform.

The next step is to decide if your development environment will be an online sandbox or your own Docker container. If you would choose the online sandbox you will be prompt to log in to it.

In our scenario, we will select Microsoft Cloud Sandbox.
Our first application will create after this and it will contain bellow three files.
- launch.json -This file describes where the development environment is placed.
- app.jason – This file provides the most important information about the extension which you develop. You can find a name and a description of your extension, information about a publisher etc.
- HelloWorld.al -This file is your first code. It simply shows the message when you open the customers list.
As a next step before connecting to the Bussiness Central sandbox environment, we have to download symbols.
Download Symbols
when you created a new project and open HelloWorld.al file, you have errors. One of them says
that the target page “Customer List” for the extension is not found. The reason you do not have symbols downloaded.
To download them you need to open Command Pallet (Ctrl+Shift+P) and run function AL: Download Symbols, Symbols can be found in the folder .alpackages.
If you are using Online Sandbox and running the function the first time, then you need to log in to your environment.

After the symbols will be downloaded, you should be able to see the app files in the .alpackages folder.

As a next step, you need to connect visual studio with your sandbox environment for this we need to write the below code in the launch.json file.

Once connected successfully, we will create New Table(s) and Page(s) in Business Central.
Below is the AL code for Car Brand Table, and Page that will be created in Business Central via Extension, used for Integration with Dataverse.
Car Brand Table

Car Brand Page


Car Brand Card Page


Car Brand List Page


Now when you publish this extension to business central the table and page will appear as shown below.
Navigate to tell me in business central and search for the car brand and it will give you a list of the car brands and administration page where you create your car brand data.

Administration Page

List Page

Most important to expose the Business central data/table to Datvaerse we need to create API in visual studio code below is the API code.


As a next step, publish the extension and wait for a few min you would see the Car Brand table in Available Business Central Table in Dataverse.

Open Available Business Central Table and navigate to Data, look for Car Brand.

Select the record and click on the edit record button in the command bar, it will redirect to a new page where check the visible field click on save and close.


After a few seconds in the list of Microsoft Dataverse tables, you will find a Car Brand entity with the name dyn365bc_carbrand_bctech_demo_v1_0. In this case, you will know that this entity is created from the Dynamics 365 Business Central list of entities.

Open CarBrand, and again navigate to Data, and Microsoft Dataverse will show you all lists of items from Dynamics 365 Business Central.

In this way, We have successfully fetched custom table data from business central to Dataverse using the Business central virtual table concept.
I hope this will help you.
Learn, Evolve & Share..!


